Aug 5, 2021
by BITS Media
#configure, #data grwoth, #directories, #firewall, #kernel, #Linux, #maintenance, #memory files, #permission, #port setting, #RedHat, #server, #server configuration, #startup process, #system security
*There are many distributions of Linux, our guide covers most standard Debian, RedHat, CentOS and BSD versions, however your particular distribution of Linux may use different default paths and system configuration files.
Operating system installation
The base operating system installation should be healthy with a minimal install. Your system should only have the software and packages installed that are being used. Installation for kernel and system devices should be using the most current stable releases available. Your system and data partitions should have enough space for daily maintenance routines and working data. Depending on your needs you may need more space or can get by with less space if your server configuration and data growth is static. Running services and boot processes should be minimal and only what is needed for your server application. System temp directories and swap memory files should be properly configured for your installation.
To list installed packages follow these command line samples:
RedHat RPM based
->rpm -qa
Debian_based
->dpkg –get-selections
BSD
->pkg_info
To show your kernel version and details
->uname –a
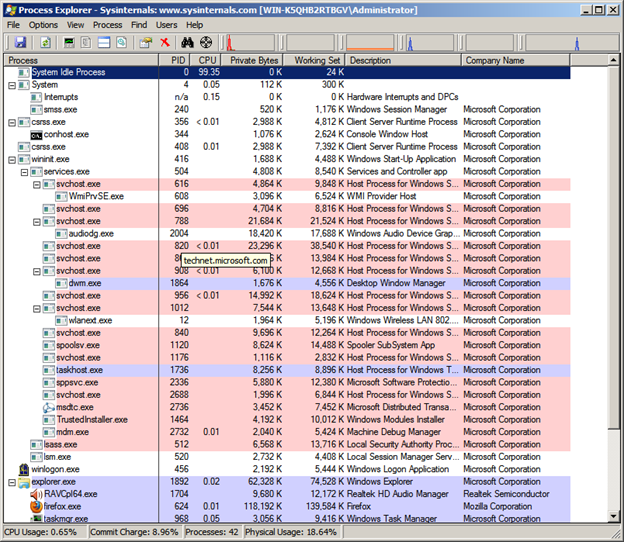
Utilize the ps command to see running process. You should gather a baseline of running processes as a regular audit of system security.
Show processes for Linux
->ps -e
Show processes on BSD
->ps ax
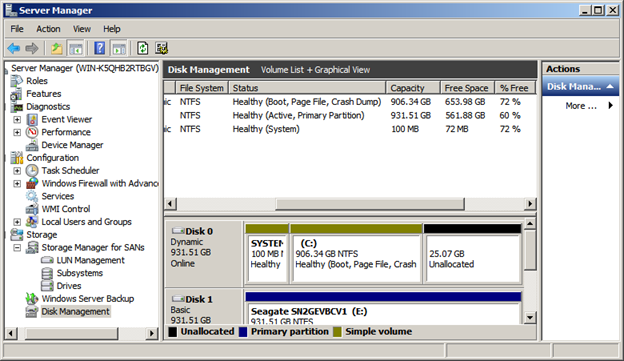
To show disk space and utilization use the df command
->df -a
To see free memory
->free -m
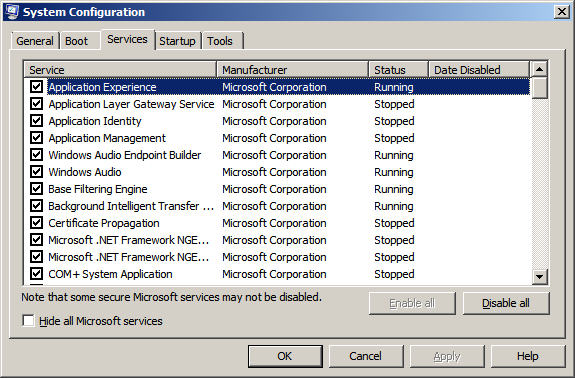
To see startup processes
->chkconfig -list
Startup scripts can be found in the following locations
/etc/rc.d/*
/etc/rc.d/rc3.d/ or /etc/rc3.d/
/etc/rc.d/rc5.d/ or /etc/rc5.d/
Startup scripts start with an “S”.
/etc/init.d/* is where service daemons are configured.
Depending on your Linux distribution you have a couple of options for ensuring that your system software is up to date for known vulnerabilities. The easiest way to update software and dependencies is to use a package manager and trusted distribution update sources. If you are running third party applications then make sure that you keep those up to date as well.
RedHat based systems use the RedHat Package Manager (RPM). This package manager uses the up2date command with many options to check for dependencies and version updates. RedHat and various other distributions that use RPM require registration and/or purchase to subscribe to automatic update services.
The rpm architecture includes several tools to build and install rpm packages. The rpm database keeps track of software installed on your system which allows you to easily upgrade or uninstall packages. The following example shows how to build an rpm package and install the apache web server from a source tarball.
->rpmbuild -tb httpd-2.4.x.tar.bz2
The rpmbuild utility will automatically create the rpm packages and will also list the dependencies that your system may be missing.
->rpm -U httpd-2.4.x-1.i686.rpm
Debian based systems utilize the Debian Package Manager. Various command line utilities are available such as aptitude and apt-get which will source packages from standard Debian installation sources and check for dependencies.
->apt-get update
->apt-get upgrade
->apt-get install
Without the use of a package manager you will need to download source files then config and make software packages to update your system manually with a local compiler.
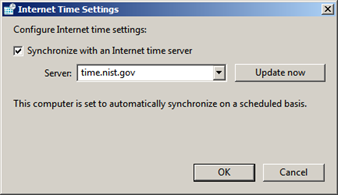
Ensure that system time is correct and synchronized to a reliable time source
Show system date and time
–>date
To setup a time server edit /etc/ntp.conf
Enter a line for each time source as follows
server ntpserver.name.com
Replace “ntpserver.name.com” with a time server or pool address that you choose.
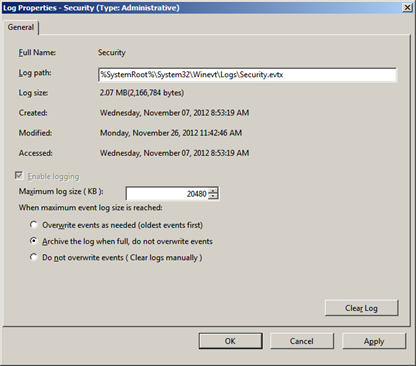
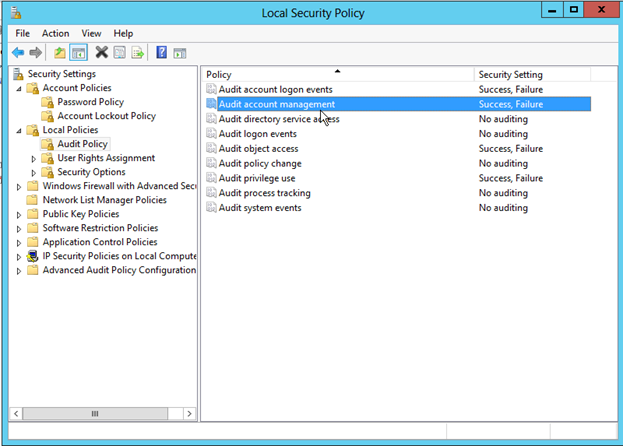
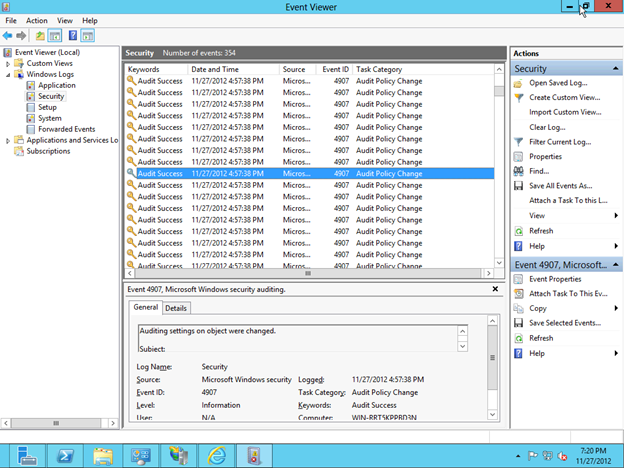
Enable system logging and audit log files
System logging is an important piece to system hardening and security. Proper configuration and auditing of log files is recommended. On Linux there are various different log software daemons. Syslog, syslog-ng and rsyslog are the commonly included logging utilities with Linux distributions.
Permissions should be set for log files so that root is owner and they are not available to standard users. Also, you should configure system log files to be sent or copied to a trusted centralized location so that they are tamper resistant. When attackers breach a system they can cover their tracks or wreak havoc on your log files to make it hard to determine what or how they accessed it.
The configuration files for these logging daemons are located in /etc and the default log file repositories are in /var/log.
/etc/syslog.conf
/etc/rsyslog.conf
There are many commercial and open source software packages for collecting and auditing log files. Many of these packages allow you to create alerts as well as provide more friendly filters to make viewing less tedious. Server logs should be checked on a regular basis and can help troubleshoot other system problems.
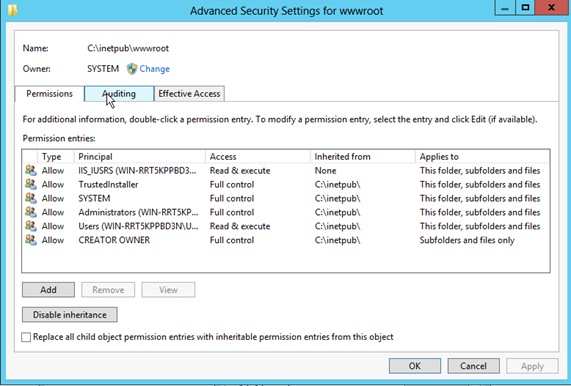
Lockdown file system security and permissions
To list file permissions and owner
->ls -l
Utilize the chmod command to set file system permissions. Ensure that the following files are owned by root with their perspective permissions.
/etc/passwd set to rw-r–r–
/etc/group set to rw-r–r–
/etc/fstab set to -rw-r–r–
/etc/shadow set to r——–
The chmod command is a utility built into the command shell to manage file permissions and ownership. See man chmod for symbolic and numeric usage options. Also see http://ss64.com/bash/chmod.html as a good tool for understanding and converting mod permissions on files and directories.
Set cron permissions to allow only root to add cron jobs.
create/etc/cron.allow and /etc/at.allow with root as the owner and permission set to r——–
root should be the only text in these files.
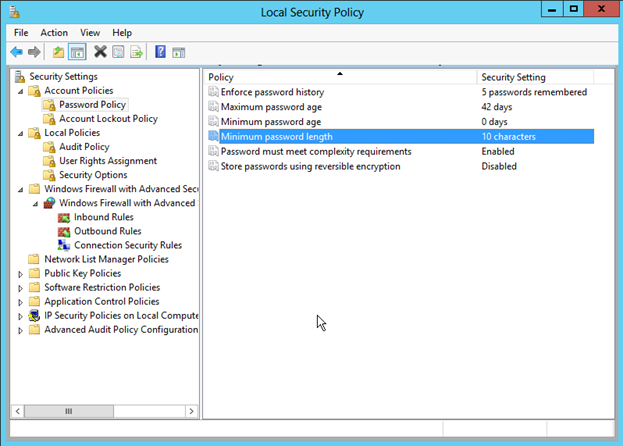
Ensure that password policies meet your organizational requirements. /etc/login.defs is used by the system to configure password policies. See man login.defs for configuration details. Password aging should be enforced at 90 days or less and minimum length should be set with at least 10 characters. Highly secure systems should enforce longer passwords.
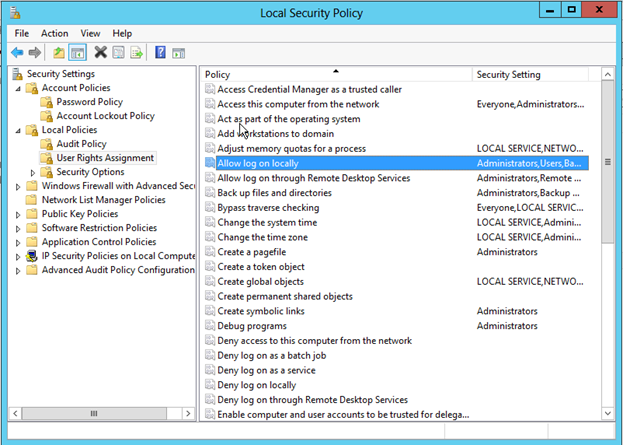
Utilize sudo rather than su to perform super user tasks
Sudo is a per command super user utility which users can launch with their own passwords. In other words you are able to keep the root password safe and secret and give administrative users the proper access to run tasks via sudo commands.
Edit /etc/sudoers files to give users sudo access. To run a command under the super user context precede commands with sudo.
->sudo pico /etc/ssh/sshd_config
Will open the sshd_config file with the pico editor as super user.
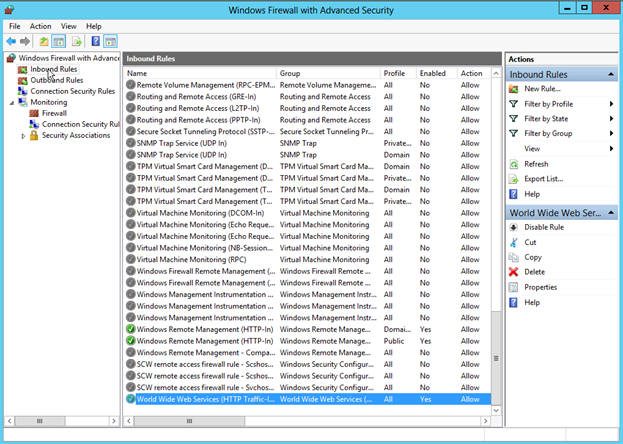
Configure networking, firewall, and port settings
Network segmentation and placement of your server may play a role in how much effort you put into configuring your local firewall settings. Whether your network is NAT, DMZ, local trusted, or placed directly on a public segment will determine how you need to configure local host-based firewall settings. Network segmentation and firewall settings used in conjunction with an edge security solution is recommended.
To see which network ports are open and listening run netstat -a
Linux uses INPUT, FORWARD, and OUTPUT chains via iptables for host-based firewall rules.
The iptables rules are simple logic rules to determine whether or not a packet is accepted or rejected. The order of the rules is important to consider. Incoming traffic is filtered from top down.
Ubuntu iptables reference is one of the most complete and can be found at
https://help.ubuntu.com/community/IptablesHowTo
To view currently running iptables configuration:
->sudo iptables -L
Sample output from this command on a running system:
Chain INPUT (policy ACCEPT)
target prot opt source destination
REJECT all — anywhere loopback/8 reject-with icmp-port-unreachable
ACCEPT all — anywhere anywhere state RELATED,ESTABLISHED
ACCEPT tcp — anywhere anywhere tcp dpt:www
ACCEPT tcp — anywhere anywhere tcp dpt:https
ACCEPT tcp — anywhere anywhere tcp dpt:smtp
ACCEPT tcp — anywhere anywhere tcp dpt:pop3
ACCEPT tcp — anywhere anywhere tcp dpt:pop3s
ACCEPT tcp — anywhere anywhere tcp dpt:imap2
ACCEPT tcp — anywhere anywhere tcp dpt:imaps
ACCEPT all — anywhere anywhere state RELATED,ESTABLISHED
REJECT icmp — anywhere anywhere reject-with icmp-port-unreachable
LOG all — anywhere anywhere limit: avg 5/min burst 5 LOG level debug prefix `iptables denied: ‘
REJECT all — anywhere anywhere reject-with icmp-port-unreachable
Chain FORWARD (policy ACCEPT)
target prot opt source destination
REJECT all — anywhere anywhere reject-with icmp-port-unreachable
Chain OUTPUT (policy ACCEPT)
target prot opt source destination
ACCEPT all — anywhere anywhere
The following iptables configuration file corresponds to the output above which allows HTTP(port 80), HTTPS (443), SMTP (25), outbound connections, pop3, imap, imaps(993), and pop3s(995). See security through obscurity section for other tricks. Packets that meet the filter rules are accepted. All others are dropped.
//file = /etc/sysconfig/iptables.sample
# Generated by iptables-save v1.4.8 on Thu Nov 29 07:35:35 2012
*filter
:INPUT ACCEPT [0:0]
:FORWARD ACCEPT [0:0]
:OUTPUT ACCEPT [0:0]
[0:0] -A INPUT -d 127.0.0.0/8 ! -i lo -j REJECT –reject-with icmp-port-unreachable
[9855:1333917] -A INPUT -m state –state RELATED,ESTABLISHED -j ACCEPT
[20:964] -A INPUT -p tcp -m tcp –dport 80 -j ACCEPT
[16:832] -A INPUT -p tcp -m tcp –dport 443 -j ACCEPT
[0:0] -A INPUT -p tcp -m tcp –dport 25 -j ACCEPT
[0:0] -A INPUT -p tcp -m tcp –dport 110 -j ACCEPT
[0:0] -A INPUT -p tcp -m tcp –dport 995 -j ACCEPT
[0:0] -A INPUT -p tcp -m tcp –dport 143 -j ACCEPT
[0:0] -A INPUT -p tcp -m tcp –dport 993 -j ACCEPT
[0:0] -A INPUT -m state –state RELATED,ESTABLISHED -j ACCEPT
[535:32144] -A INPUT -p icmp -j REJECT –reject-with icmp-port-unreachable
[921:58908] -A INPUT -m limit –limit 5/min -j LOG –log-prefix “iptables denied: ” –log-level 7
[1067:66503] -A INPUT -j REJECT –reject-with icmp-port-unreachable
[0:0] -A FORWARD -j REJECT –reject-with icmp-port-unreachable
[12195:1597429] -A OUTPUT -j ACCEPT
COMMIT
# Completed on Thu Nov 29 07:35:35 2012
//eof /etc/sysconfig/iptables.sample
You can also use gui tools such as system-config-firewall and system-config-firewall-tui to configure your local host firewall. Linux distributions allow you to specify basic firewall settings during installation but most default installations are open and allow all traffic.
Be cautious when editing firewall rules on a remote system as you can block yourself out of your own system. See section on security through obscurity for more settings.
Configure and secure SSH server daemon and Xwindows settings
Remote access should be configured with SSH version 2 and you should not allow root login. Edit SSH server settings in the /etc/ssh/sshd_config file. Key settings for the ssh daemon include:
PermitRootLogin no – do not allow root to login via ssh, users can still su or sudo once logged in
Protocol 2 – force ssh to use protocol version 2 which is more secure
AllowUser user1, user2, user4 – tell ssh which users are allowed access
DenyUser user3, user5 – tell ssh which users are denied access
Port 22 – set the listening port number for ssh daemon, see security by obscurity
If you are configuring and utilizing X windows ensure that you enable X11 forwarding so that sessions are encrypted to your X server via SSH. Otherwise X windows sessions are unencrypted and easily sniffed off the network. Enabling X windows should be minimized as there are known exploits and system overhead with it.
Advanced packet filtering with tcpd and hosts_access control files
Tcpwrappers allow for robust access control and logging of network daemons and was one of the earliest packet filtering methods for Linux systems. The tcpd daemon can be used in conjunction with inetd, when services are defined to run via inetd.conf, or daemons can be compiled and configured to include the libwrap library natively.
Access control rules for tcpd are located in /etc/host.allow and /etc/hosts.deny.
Many options are available to shape and filter incoming connections with these access control rules. See man hosts_access for good documentation on how to use and implement the access control programming language. Connections that are filtered by tcpd are logged via standard syslog log file mechanisms so that auditing of these wrapped services is possible.
If your system is running an http daemon there are a couple of basic security precautions that you should take. Apache web server is a robust web server platform with many commercial and free add-ons to enhance its functionality. Apache mods (modules) are configurable enhancements to the Apache web server system. File system security for content directories as well as the executable http binaries and apache installation files should be locked down and checked. Root should be the owner of these directories and they should not be writable by others.
->ls -l /etc/apache2
-rw-r–r– 1 root root 8096 May 31 20:49 apache2.conf
drwxr-xr-x 2 root root 1024 Nov 8 19:05 conf.d
-rw-r–r– 1 root root 0 Mar 19 13:31 httpd.conf
drwxr-xr-x 2 root root 9216 Nov 8 19:05 mods-available
drwxr-xr-x 2 root root 1024 Mar 19 13:40 mods-enabled
-rw-r–r– 1 root root 786 May 31 21:03 ports.conf
drwxr-xr-x 2 root root 1024 Nov 8 19:05 sites-available
drwxr-xr-x 2 root root 1024 Mar 19 13:30 sites-enabled
The following system settings in your apache config file are recommended to further limit access.
<Directory />
AllowOverride None
</Directory
//Prevents users from overriding server settings with different .htaccess files.
<Directory />
Order Deny, Allow
Deny from all
</Directory>
//To prevent users from accessing file system directories
<Directory /path/public_html>
Order Deny, Allow
Allow from all
</Directory>
//Allow access to specified web site directory replace path with your path
The Apache mod_security package is recommended to enable enhanced configuration in your Apache configuration files. Extra logging and more granular control over error messages and file uploads is enabled.
The Apache HTTP server website provides a good reference. http://httpd.apache.org/docs/2.2/misc/security_tips.html
Secure and Configure MySQL and Postgress SQL servers
One important thing to consider when protecting a database is that data is often clear text inside the database files. Encryption of the underlying file system and any database backups is recommended. Password and sensitive data such as credit card numbers should be hashed and the hashed data value should reside in the database.
User access to database applications should be over SSL connections and clear text authentication should be disabled. SSL certificate installation and safeguarding helps to prevent man-in-the-middle compromises. Backups and file systems should be physically safeguarded to prevent attackers from having a crack at the database. Remember once an attacker has the data or access to the server console your system is as good as hacked with most measures such as encryption and hashing only delaying the disclosure of data.
Web applications should be protected against SQL injection attack methods and all input fields should be filtered and defined.
It is recommended to run Anti-virus or anti-malware software on your system. These applications or only as good as their configuration and current definition versions but can allow you to be protected against known wild variants of bad software.
System files should be checked for integrity and compared regularly to a known good source. You can easily find and compare checksums of system files and backup files. If configuration files have changed it should raise a red flag. Intrusion detection systems should be configured to watch these files.
Linux Security References:
http://www.debian.org/security
http://www.rpm.org/max-rpm/ch-rpm-upgrade.html
https://access.redhat.com/security/updates/
http://www.freebsd.org/security/
http://httpd.apache.org/docs/2.2/misc/security_tips.html
https://help.ubuntu.com/community/IptablesHowTo
http://kernel.org
http://ss64.com/bash/chmod.html